Honey Buttermilk Bread Recipe Recipe Image

Honey Buttermilk Bread Recipe

Delicious homemade Honey Buttermilk Bread Recipe recipe, easy to prepare and full of flavor!
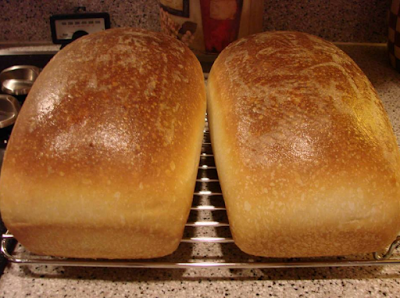
Honey Buttermilk Bread Recipe Recipe Image

Honey Buttermilk Bread Recipe

Delicious homemade Honey Buttermilk Bread Recipe recipe, easy to prepare and full of flavor!
Prep Time 15 minutes
Cook Time 25 minutes
Total Time 40 minutes
Servings: 4 servings
Course: Bread
Cuisine: American

Ingredients
  

  • 1 envelope yeast
  • 1 teaspoon sugar
  • 1/4 cup warm water
  • pinch of ginger (helps activate the yeast)
  • 2 cups warm buttermilk
  • 1/3 cup honey
  • 1/4 cup butter, melted and cooled so that it is warm to the touch but not hot.
  • 1 teaspoon salt
  • 3/4 teaspoon baking soda
  • 6 cups white bread flour

Method
 

  1. Mix the ginger, sugar, yeast, and water and set aside for five minutes.
  2. Mix buttermilk, honey, salt, baking soda in with the yeast mixture.
  3. Add three cups of flour and mix until smooth. On an electric mixer it is about 5 minutes on low speed.
  4. Mix in butter until it is totally incorporated into batter.
  5. Now, begin to add the rest of the flour, one cup at a time, keeping mixer on low speed.
  6. When dough pulls from the sides of the bowl remove it from the mixer to a floured surface and knead until elastic and smooth.
  7. Place in greased bowl, turn to grease the top, cover and allow to rise for 1 1/2 hours.
  8. Punch down and form into two loaves. Place in greased loaf pans and grease tops.
  9. Cover, and allow to rise for 45 minutes.
  10. Preheat oven to 400F. Bake for 30 minutes, covering tops with foil if they brown too fast.
  11. Remove loaves from oven and brush with melted butter.
  12. Allow to cool in pans for 10 minutes.
  13. Turn out and cool completely on a rack. Cover the loaves if you want soft crusts.

Tips for the Best Honey Buttermilk Bread Recipe

  • Pre-heat & Prep: Always gather all ingredients before cooking honey buttermilk bread recipe.
  • Flavor Adjustment: Adjust seasoning to taste near the end of cooking.
  • Storage Tips: Store leftovers in an airtight container in the refrigerator for up to 3-4 days.
📌 Follow Susan Recipes on Pinterest

Similar Posts

  • Peach cobbler recipe

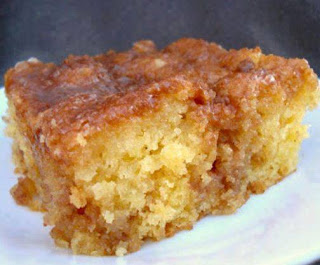
    Delicious homemade Peach cobbler recipe recipe, easy to prepare and full of flavor! Delicious homemade Peach cobbler recipe recipe, easy to prepare and full of flavor! Tips for the Best Peach cobbler recipe Pre-heat & Prep: Always gather all ingredients before cooking peach cobbler recipe. Flavor Adjustment: Adjust seasoning to taste near the end of…

  • Chicken Lazone

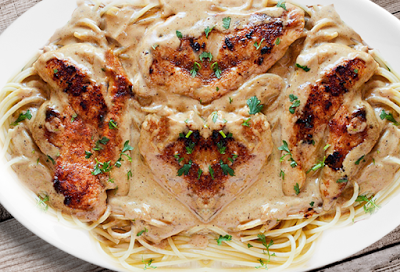
    Delicious homemade Chicken Lazone recipe, easy to prepare and full of flavor! Delicious homemade Chicken Lazone recipe, easy to prepare and full of flavor! Tips for the Best Chicken Lazone Pre-heat & Prep: Always gather all ingredients before cooking chicken lazone. Flavor Adjustment: Adjust seasoning to taste near the end of cooking. Storage Tips: Store…

  • Secret Ingredient Meatloaf

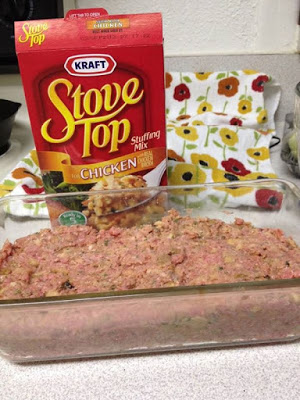
    Delicious homemade Secret Ingredient Meatloaf recipe, easy to prepare and full of flavor! Delicious homemade Secret Ingredient Meatloaf recipe, easy to prepare and full of flavor! Tips for the Best Secret Ingredient Meatloaf Pre-heat & Prep: Always gather all ingredients before cooking secret ingredient meatloaf. Flavor Adjustment: Adjust seasoning to taste near the end of…

  • Butterscotch Cake with Caramel Icing

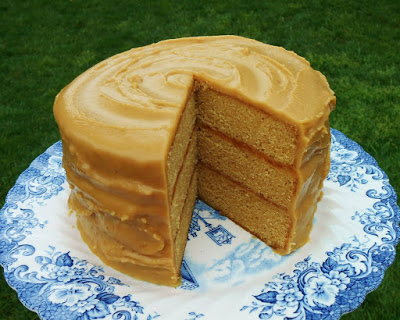
    Butterscotch Cake with Caramel Icing, Don’t Miss this Recipe ❤️ Butterscotch Cake with Caramel Icing, Don’t Miss this Recipe ❤️ Tips for the Best Butterscotch Cake with Caramel Icing Pre-heat & Prep: Always gather all ingredients before cooking butterscotch cake with caramel icing. Flavor Adjustment: Adjust seasoning to taste near the end of cooking. Storage…

Leave a Reply

Your email address will not be published. Required fields are marked *

Recipe Rating