Make the cake
Preheat oven to 350 F. Prep three 8″ round pans by lining the bottom only with parchment paper. Cream butter and sugar until light and fluffy. Slowly beat in eggs and egg whites, one at a time. Beat in vanilla until well combined.
In a separate bowl, combine flour, baking powder, and pudding mix. Add into wet ingredients in three separate additions, mixing until just combined. Don’t over mix!
Stir in milk until combined. Divide batter and pour into pans. Bake 22-25 minutes or until cake is golden and begins to pull away from sides of pans.
Allow cake to cool 15 minutes in pan. Loosen and remove from pan. Allow to cool another 1-2 hours on a wire rack.
Begin layering
Level each cake. Place first layer on cake plate. Brush with a little milk mixture.
Line banana slices on top of cake. Spread 1/3-1/2 of the filling mix on top of bananas.
Place next cake layer on top of filling. Repeat with milk mix, filling, and final layer.
Frost
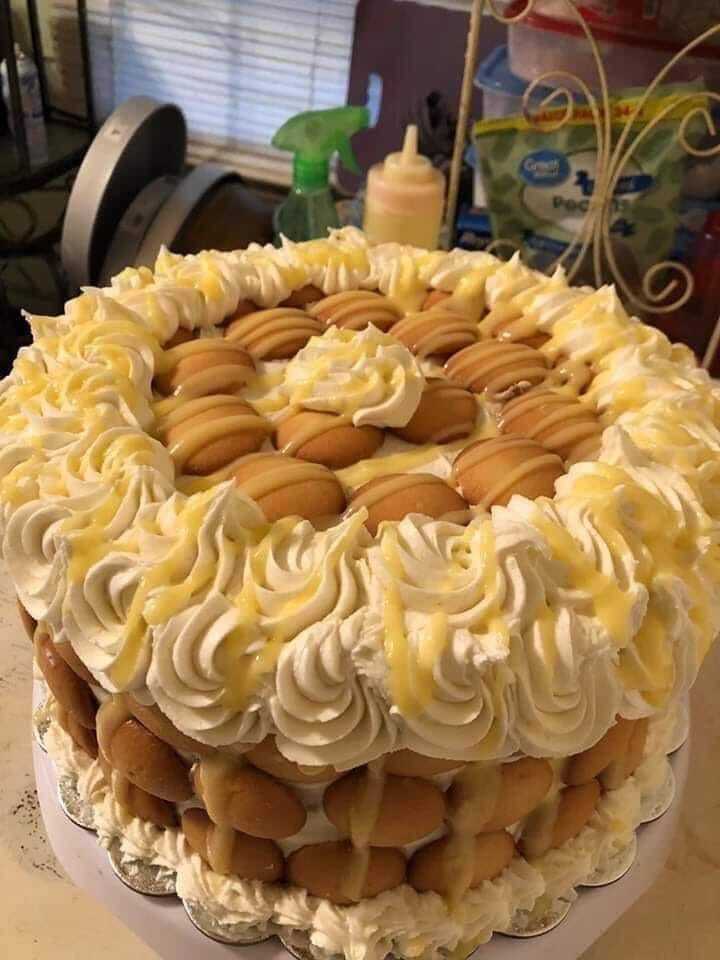
This is the fun part. Frost with Cool Whip and decorate as you wish. I crushed some mini Nilla wafers and spread on top. Then used the wafers along the sides.
Whew! Sounds super complicated, but it was simple to make. You may also want to put some Nilla wafers in between the layers. You know, if you’re feeling extra fancy and decadent.
Very important!!: Store this cake in the fridge!! Lots of perishable ingredients. You’ve been warned, so I’m off the hook if you don’t refrigerate and get sick.
This may be a new family favorite. It’s definitely not a “good for you” cake, but this was a very special occasion. Everyone loved it, too! My nieces especially enjoyed picking off and eating the Nilla wafers.